Recently I accidentally used a 19V power supply to power a 12V hard drive enclosure. As a result the hard drive refused to power up. I tried using a different USB enclosure but the drive was clearly damaged. The enclosure obviously provided no protection against this mistake at all. Thanks whoever designed that enclosure. I hope the 10p you saved was worth it! Time for my first hard drive repair.
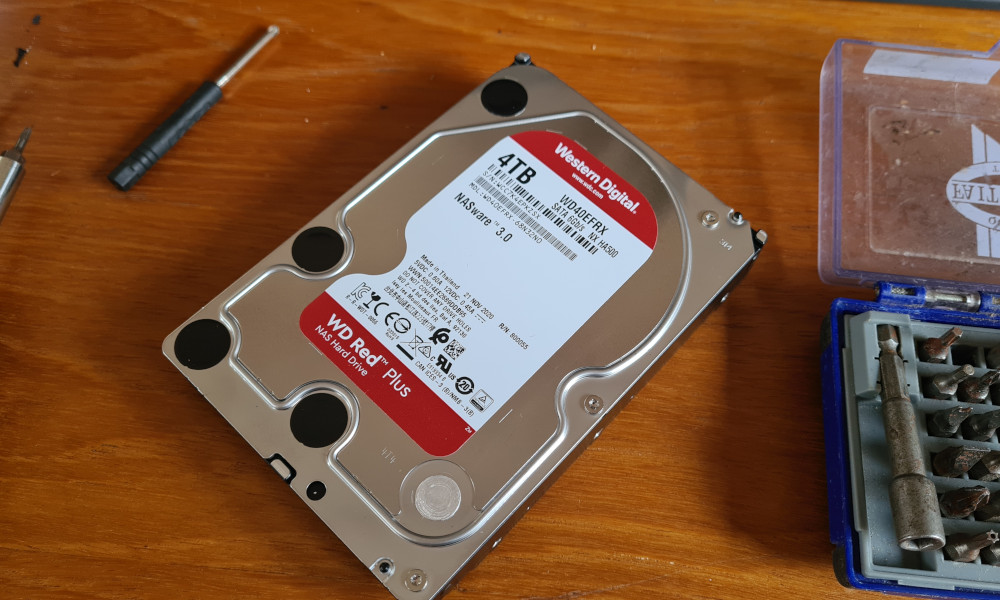
The drive is a Western Digital 4TB WD40EFRX “Red” [Amazon Affiliate Link] and was only a year old. It looked like I had made an expensive mistake.
Luckily this drive contained data that was mirrored in three other places. I hope if you are reading this with a damaged drive you have suitable backups. If you are reading this for some other reason and your data isn’t backed then please, go and back it up now. Drives can fail at any time and trust me, although I was facing a £100 cost to replace the drive, losing the data was not an issue. Be smug. Backup!
Here is the drive. A Western Digital “Red” WD40EFRX 4TB. It’s better suited to a NAS but in my case I was using it to backup all the files from my PC.
Based on some research it seemed the most likely cause of the drive failure was a damaged 12V power circuit on the controller board. The only hope I had of getting it working again was repairing the controller board.
Can you Swap the Damaged Drive Controller Board?
I did wonder if I could just replace the board from a different drive. This almost certainly wouldn’t have worked. Although you can buy a replacement board, they usually have an EEPROM chip on-board that is unique to the drive. This stores factory set calibration settings. Simpy swapping the board would solve the power issue but wouldn’t allow the data to be read. A data recovery specialist may use this technique but they would swap the EEPROM chip over.
Removing the Hard Drive Controller Board
Here is a photo of the controller board on the underside:
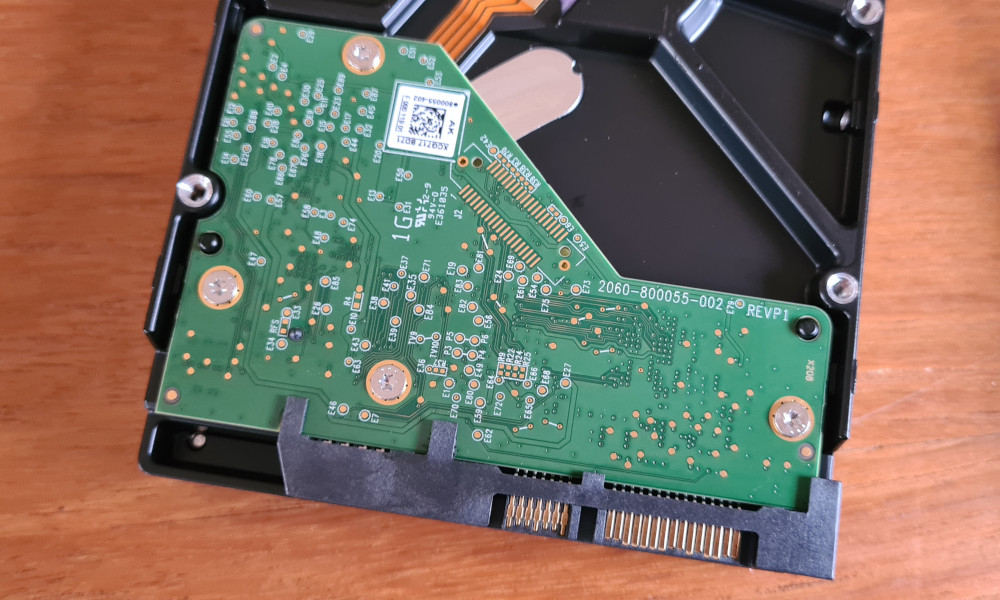
By removing the four screws I was able to remove the board from the drive. It uses a “pogo pin” connector so lifts from the drive without any effort at all. There is a section of yellow sponge underneath and you can see signs of that stuck to one of the diodes.

Hard Drive Power Circuit Components
Based on lots of Google searching it became clear that the incoming 12V and 5V power lines go through some simple fuses and TVS diodes. Here are the diodes and fuses:
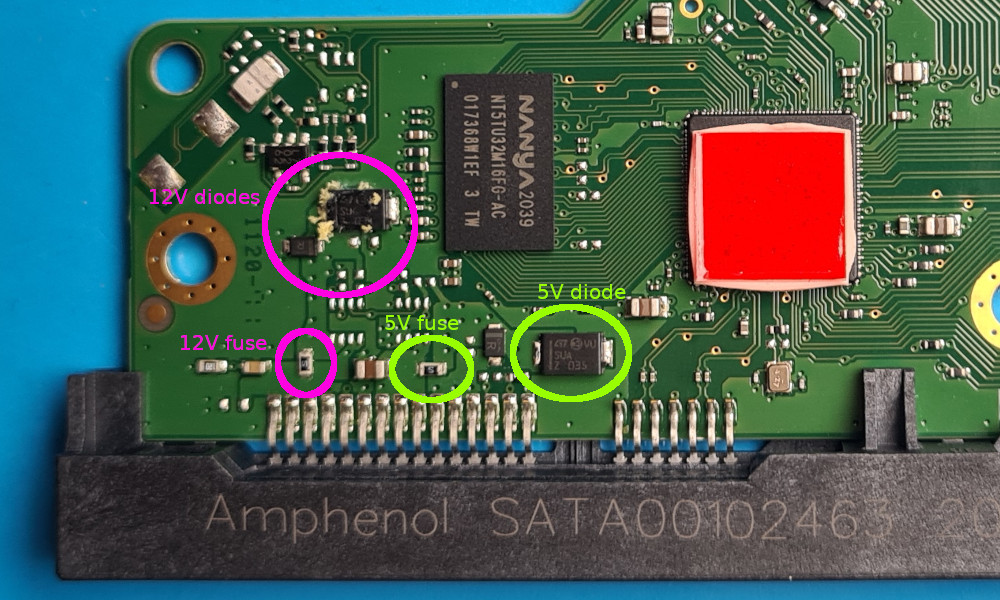
This seems to be a fairly common approach on many drives but the exact layout varies by manufacturer.
By design the fuses are closed circuit and the diodes are open circuit. When damaged the fuses may blow becoming open circuit or the diodes can be damaged and become closed circuit.
Using a multi-meter you may be able to check for continuity across these components. It became clear with my board that there was a short-circuit between 12V and ground. A good sign that the 12V diodes were damaged.
Removing the Damaged Components
At this point I had nothing to lose. So I removed the three diodes (two 12V and one 5V) and the 12V fuse. To restore the continuity across the fuse pads I soldered a small piece of wire across them.
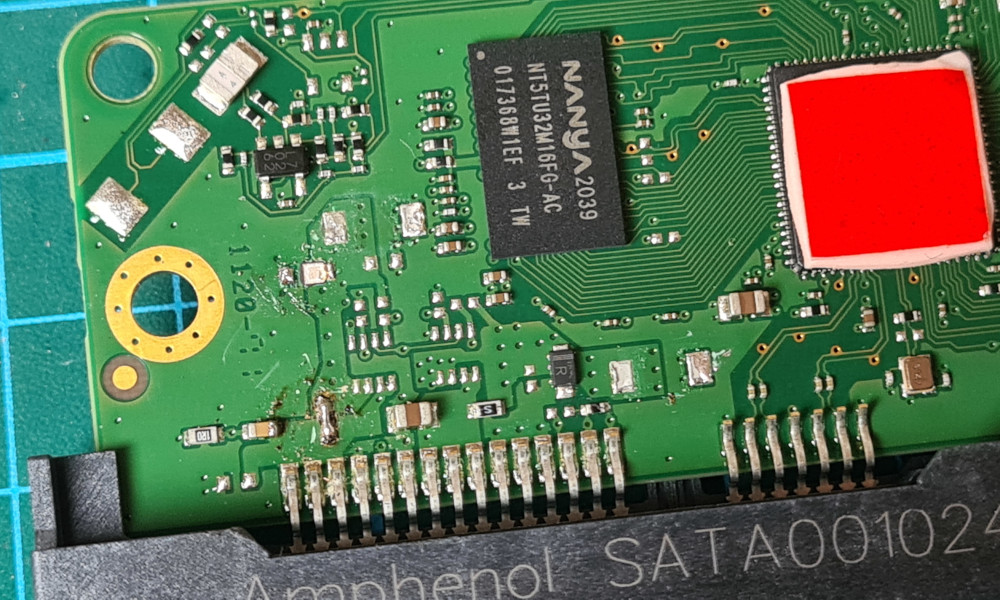
I checked the continuity between 12V and ground and the short circuit had disappeared. I placed the drive back into the USB enclosure and connected it to my PC. This time with the correct power supply. The drive powered up properly and was detected by the PC. Success!
Once the drive was up and running I stuck a label on it to indicate the 5V/12V protection diodes had been removed.
Looking back I probably didn’t need to remove the 5V diode. I should have dealt with the 12V components and tested the drive before removing it.
HARD DRIVE REPAIR IMPORTANT NOTES:
- Attempting to modify a drive this way will invalidate any warranty you have.
- Attempting this sort of repair may not work and you may cause additional damage to the drive.
- Any repair you attempt may make it more difficult, more expensive or indeed impossible for a data recovery expert to rescue your data. If you data is critically important you may be better paying a professional to recover your data.
- This technique worked for me. I was very pleased it did. It may not work for you.
Now that the drive has had these protective components removed it could be damaged by power surges or incorrect power supplies in the future. But it’s good enough for my backup purposes.
Finally, this can all be avoided if you use the correct power supply in the first place.
If you are shopping for a new hard drive then take a look at the latest internal models available on Amazon [Affiliate Link].
Some of the product links in this post are affiliate links. I receive a small commission based on purchases made via these links. The price you pay is the same.